
When you create a presentation through PowerPoint, there will be times that you want to play an audio file during a specific range of slides. Although it is possible, this option is hidden from the Audio Tool in the ribbon. This tutorial will show you how to access this advanced feature.
This tutorial works for Powerpoint 2003, 2007, 2010 and 2013.
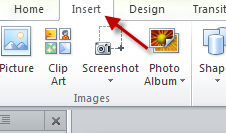
1. Launch PowerPoint, and open your desired document. Expand the program’s ribbon if it is minimized, and then go to the Insert tab.
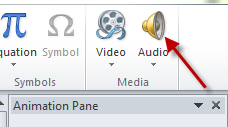
2. In the Insert tab, choose the Audio option, and insert the file you want from the hard disk to the presentation.
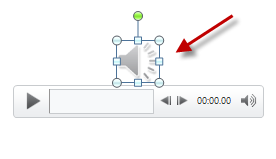
3. Once the file is added, click the speaker icon to highlight it.
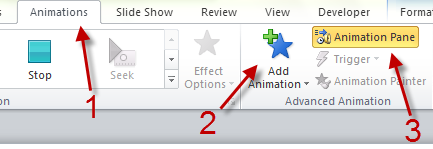
4. Switch from the Insert tab to the Animations tab, and choose Add Animation. Choose your favorite animation from the list, and then click Animation Pane to access more advanced settings.
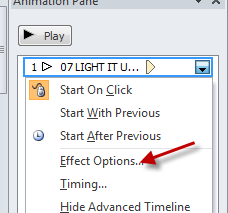
5. In the Animation Pane on the right side, click the small arrow icon next to the audio file name, and choose Effect Options from the expanded menu.
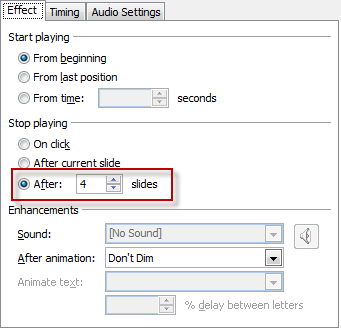
6. When the Effect Options window opens, find the Stop playing option in the Effect tab. Choose After, and provide the number of slides in the field. In the example below, the audio will be stopped after four slides.
7. Click OK to save the changes, and return to the slides to test the results.

