Watermarking your documents can be essential in multiple circumstances such as establishing a documents author or priority. Both default and custom watermarks are available. Continue reading to see how to add (or remove) a watermark in Word 2010 document.
To add watermark to document:
1. Open your document in Word 2010.
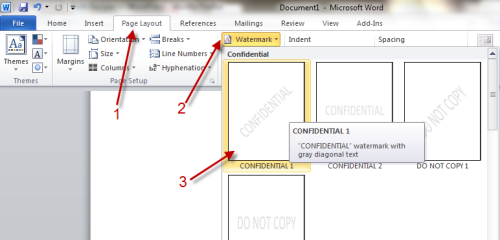
2. Switch to Page Layout tab and choose Watermark. There are several default templates for you to choose, just click on the template to apply to your document.
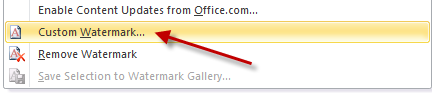
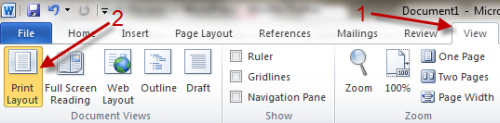
3. If you don’t like the default templates, you can always create a custom one. Just click on Custom Watermark…. (if this option is greyed out, please switch to View tab and choose Print Layout)
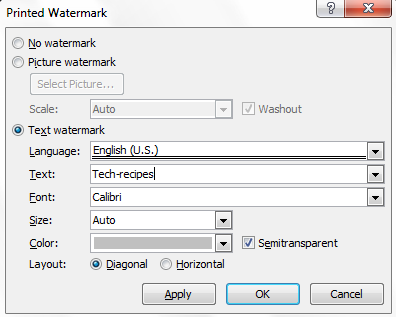
4. In Printed Watermark document, you have options to select a picture and use it as the watermark or set text watermark. With text watermark, you can modify the text, font, size, layout…. Hit OK to save the settings.
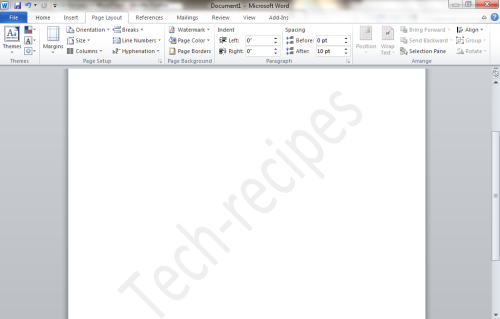
5. Watermarked document.
To remove watermark from document:
1. Open your document in Word 2o10.
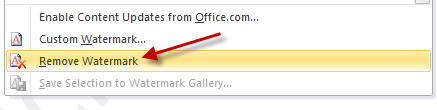
2. Switch to Page Layout tab and choose Watermark->Remove Watermark.